Repairing a Vacuum Tank Barb
copyright by www.thumper300zx.com
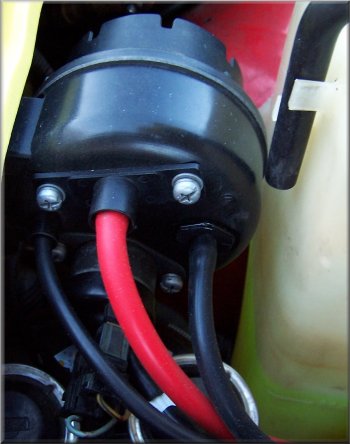
When replacing vacuum lines, sometimes you run into a little world of hurt by busting little plastic barbs. I busted the "M" port barb on my vacuum tank -- really ticks you off when you're working on a simple fix and it turns into a project.
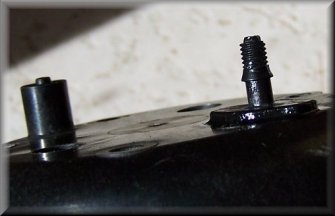
(vacuum tank with broken "M" barb)
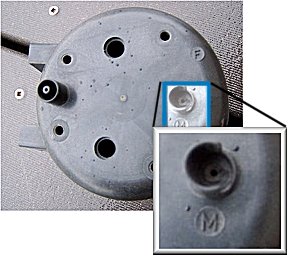
Note: There is some confusion as to how those vacuum lines at the front are supposed to be connected --- the M port goes to the manifold/vacuum signal. Reason for this is because the "M" (motor/manifold?) port has an internal check valve to only allow suction (vacuum) out of the tank. That way the tank doesn't see boost/low vacuum under acceleration and the A/C and cruise can continue operating.
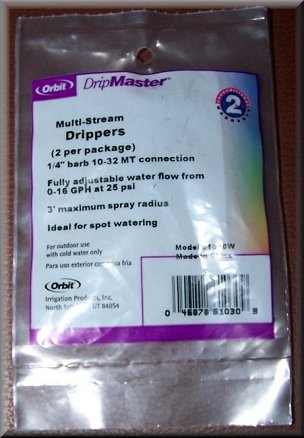
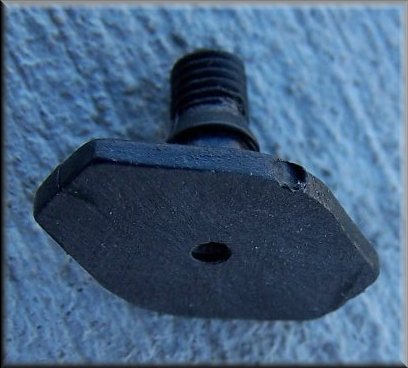
Luckily the tank has a flat surface and is made of plastic. I went to the fittings section at Home Depot looking for a small metal or plastic barb I could screw into or glue over the hole on the "M" port. I didn't have luck with metal or plastic fittings there, but in the same row, there were DRIP SYSTEM components and I quickly found several possible solutions. I chose to go with these multi-stream drippers (they are like little low-pressure sprinklers for drip-systems, really). You can see that it will provide an almost equivalent size barb and great surface area for bonding to the tank.

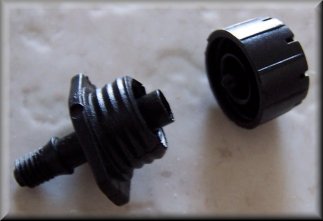
Remove the cap. Use a Dremel tool with a cut-off disk for the bulk, a stone to fine-tune it, and then place some fine sand paper on a flat surface to flatten it out completely and give it a slightly grippy finish.
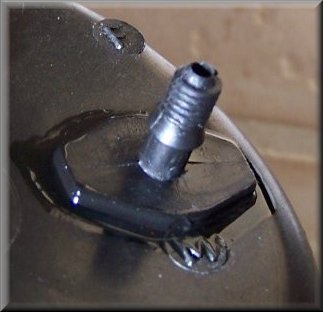
For the vacuum tank (see above, right), I basically used the same process, but getting it perfect was a bit tougher.
REMEMBER TO KEEP THE PARTS CLEAN AS YOU GO. I cleaned the vacuum tank thoroughly before starting. You don't want any oil, grease, etc on the parts.
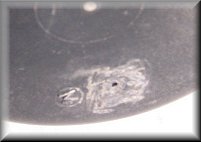
Right away you can see you have to match up two small holes perfectly. To make it a bit easier, I took an exacto knife and lightly scraped out the hole on the fitting to make it a bit bigger. Obviously don't get too aggresive or you'll cut through and ruin the seal on the barb.

Wear latex gloves to avoid the classic problem of bonded fingers.
Use only one drop of super glue per surface, and spread it around with a toothpick so all mating areas are covered, being careful not to cover up the holes. If you do accidentally cover up the holes, I'm assuming you can take a sewing needle and poke them back open later on, as long as the holes are matched up to allow flow.
Super Glue does not dry very well if it is not used thin, or between mating surfaces. Line up the holes and firmly hold together for 10 seconds. Quickly check to see that you can suck air through the barb -- don't be too aggresive or you could end up with super glue on your lips.
If you can't suck in air, don't know what to tell you, I didn't have this problem. If you can, great. I actually took a small LED light and could see the original hole through the barb, lined up just right. Then, I put a very thin, light coating of super glue around the outer edge just to make sure all the sides were sealed. Let that coating sit for a while as super glue does not dry very quickly if it isn't bonding two surfaces.
DONE, FINITO, EL FIN!