Vervangen hemelbekleding
Bij
deze een persoonlijke TIP en uit eigen ervaring: Demonteer je hemel en LAAT het
bekleden omdat bij de 2+2, de bollingen zeer lastig strak te krijgen zijn. En na
verloop van tijd gaat de stof daar toch weer loslaten omdat er te veel rijwind
langs gaat bij het "open" rijden.
bron: az-zbum
This is not really all that
difficult of a task. It's just a little time consuming and tedious.
First, go to the local fabric
store and buy 2 yards of headliner material. You'll probably have to call a few
places to find one that carries automotive material. 1 yard could probably do it,
but get two just in case. It was $7.50/yard. Also, buy a good strong fabric glue.
Make sure it reads "High Heat Resistant" on the can. I bought some glue called
Tac-It, and it was designed specifically for the headliner type stuff and
automotive applications.
Tools requires
- #2 Phillips Screwdriver
- Small flathead
screwdriver
Parts Needed
- headliner material
- high heat resistant glue
Time Required
Steps
Bij 2+2 is stap 1c t/m i
niet nodig, je kunt het hemel in het midden van de 2 bollingen iets naar beneden
forceren, het hemel zal dan tussen de zijraambekleding wegschieten.
Waarschijnlijk kan die niet bij een 2 zitter omdat het er te stijf tussen zit
gemonteerd.
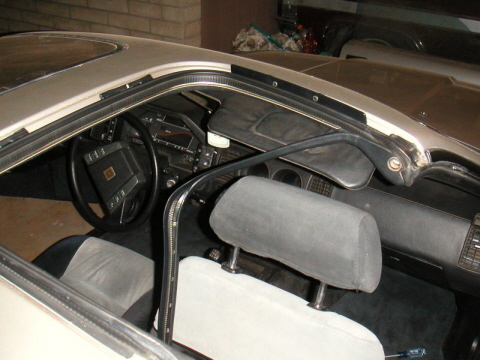
- Pull off the trim pieces
covering the headliner. This isn't as hard as it seems.
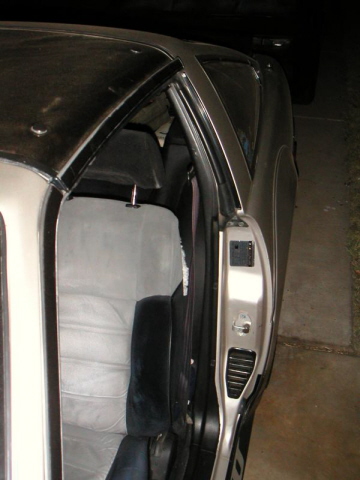
- Remove the A-Pillar
covers by pulling the top straight towards the center of the car.
- Remove the coat
hangers at the top of the B-pillars by removing the screw from each.
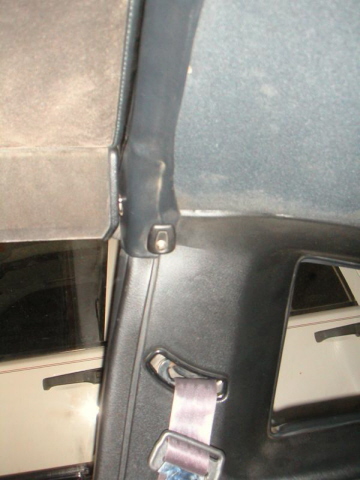
- Remove the B-pillar
covers by removing the two plastic screws and popping them off.
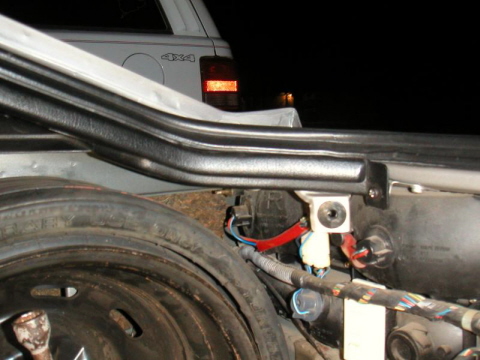
- Remove the spare tire
cover by removing the two plastic fasteners.

- Remove the plastic
piece covering the taillights by turning the 4 plastic fasteners 90
degrees and removing them.
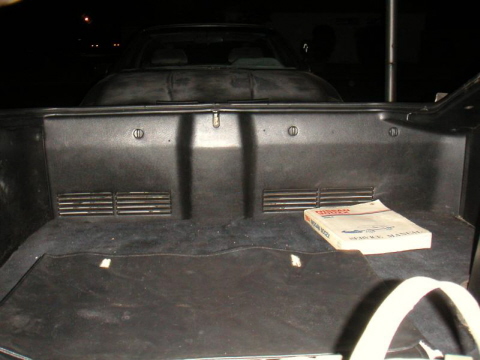
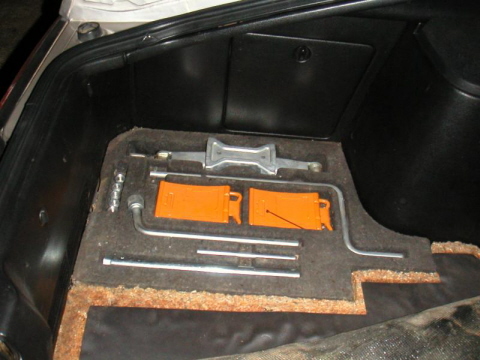
- Pull back the carpet
from the driver rear corner and remove the tool kit.
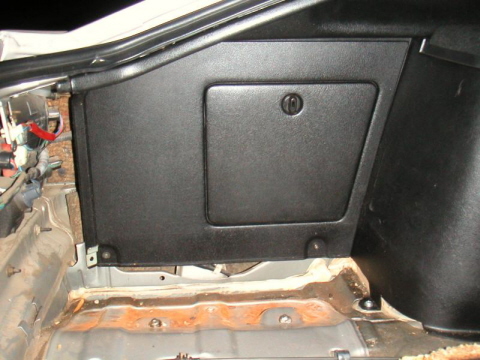
- Remove the storage
compartment by removing the two screws and pulling it out from the
bottom.
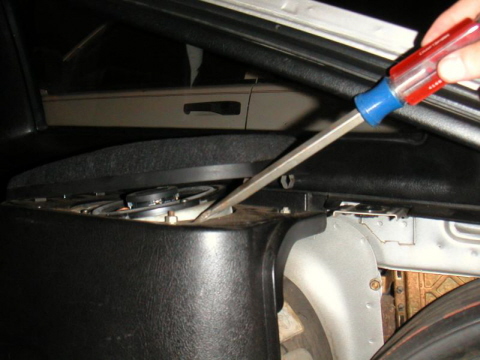
- Pop off the rear
speaker covers by prying them up from the rear.
- Remove the rear
window trim by removing the two screws on the driver side and the one
screw on the passenger side.
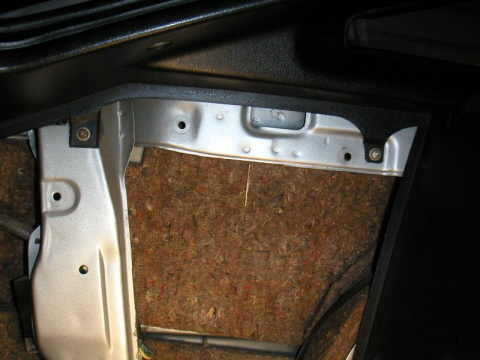
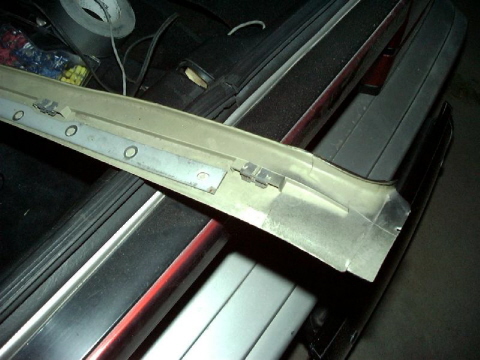
- Remove the rear trim
piece. Pull it straight back. It is only clipped into place. Just wedge
a small flathead in and pry it out. The clips are metal. The trim piece
is metal. It attaches to metal. You most likely won't break anything.
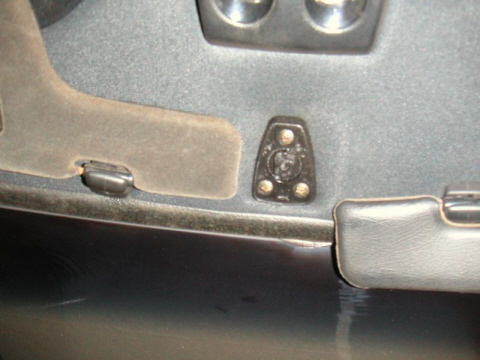
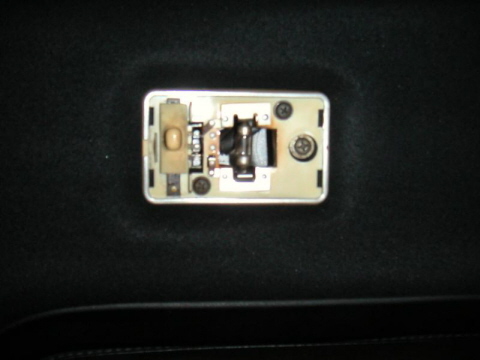
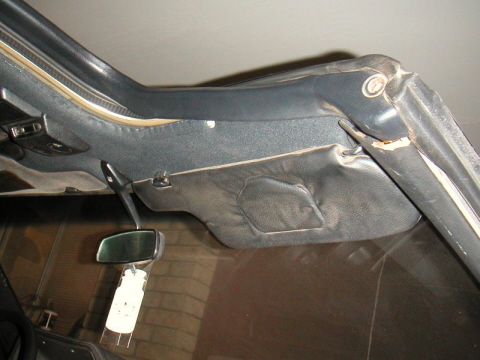
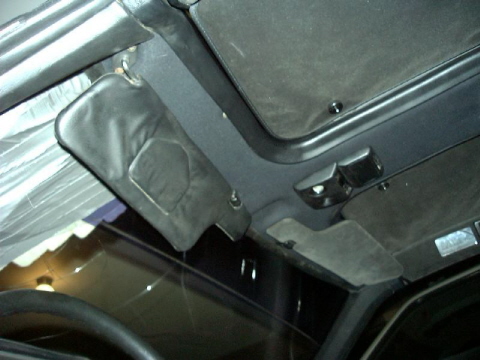
- Remove the rear view
mirror by removing the single screw.
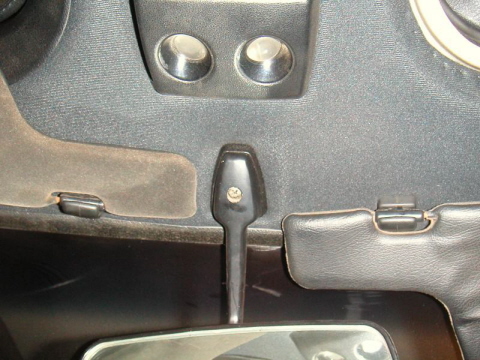
- Remove the rear view
mirror mount by removing the 3 screws. Je kunt hier goed zien dat de
bevestiging van de spiegel in het midden van het plaatje, fragiel is.
Dit breekt er makkelijk uit waardoor de binnenspiegel niet meer te
bevestigen is. Draai daarom bij montage de schroef van de binnenspiegel
niet te strak vast!!!
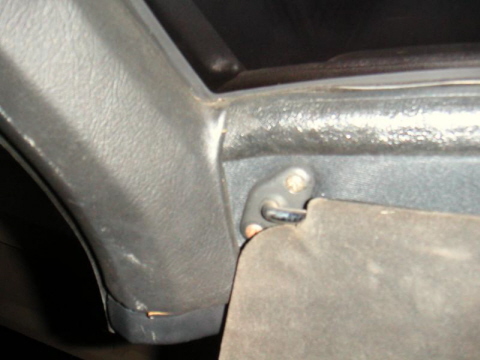
- Remove the screw
holding the sun visor clips. Verwijder ook de rubberen
afwerkingslijst tussen de voorruit en het hemel, gewoon lostrekken.
- Remove the sun visors
by removing the two screws.
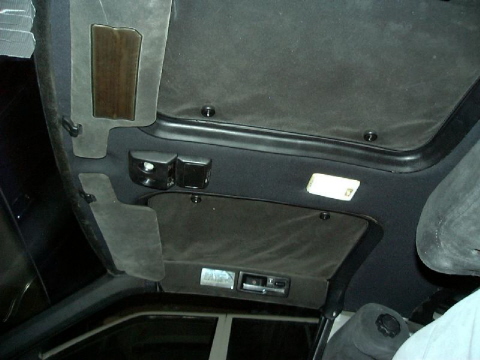
- Pull the sensor cover
(if applicable) and the map lights straight down and disconnect the map
lights.
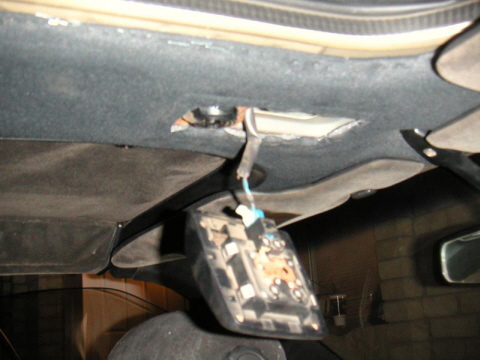
- Remove the dome light
cover and remove the dome light by removing the two screws holding the
dome light to the headliner and disconnect. Zet je binnenverlichting uit
en pas op dat je geen contact maakt anders moet je ook nog een zekering
gaan vervangen.
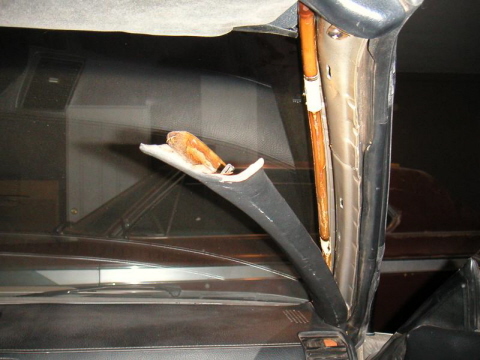
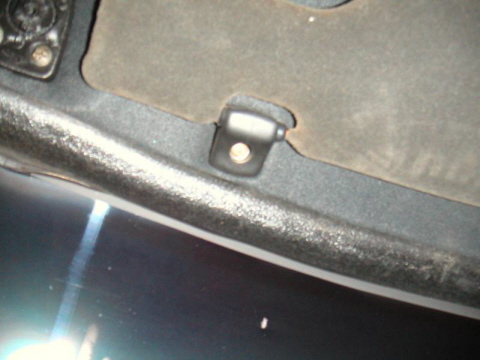
- Pull the t-top
molding out of the way. There is a screw holding it in at the top of the
a-pillar. Simply pull it away from the roof horizontally.
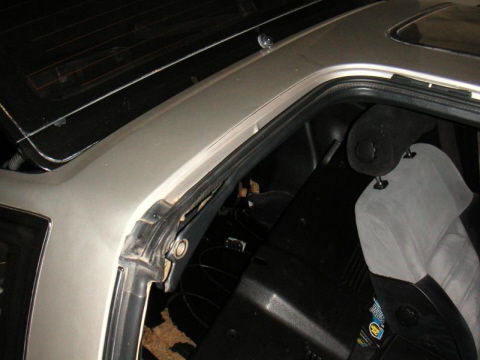
- Remove the four
screws holding the headliner to the roof.
- Pull the headliner
out of the car through the trunk. (it's easier that way)
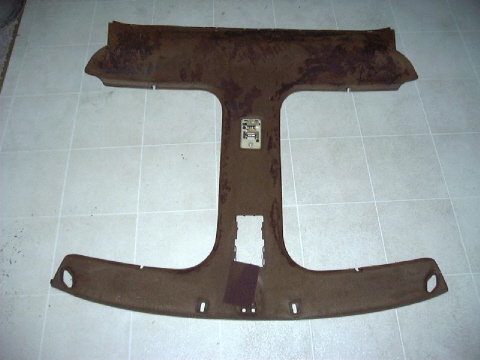
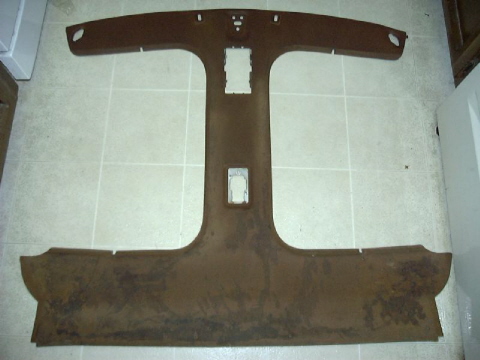
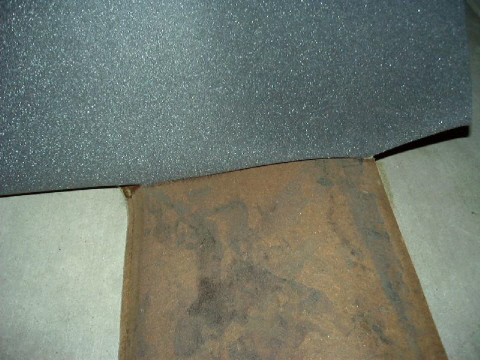
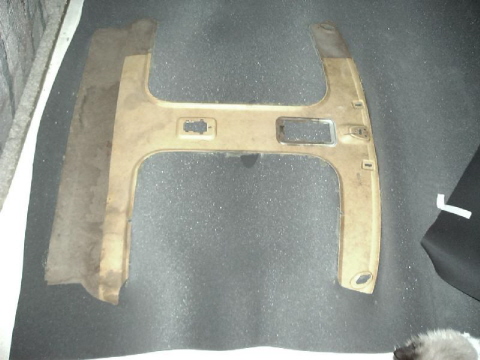
- Prep the headliner
backing.
- Rip all the old
fabric off the backing if you haven't done so already.
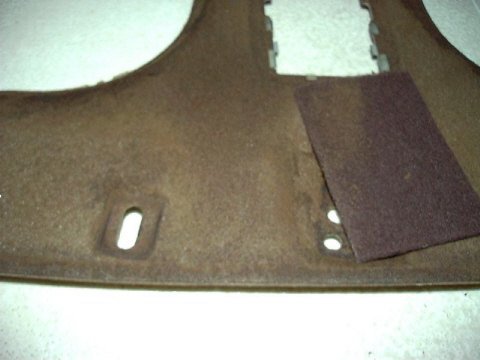
- Prep the headliner
for cleaning by scrubbing off all the old goop, fabric, glue from the
dozen plus times you've tried to rehang the fabric. The rough side of a
scotch pad works great. Or a rough scotch type pad is even better. Je
kunt ook een kunststof komborstel op je haakse slijper monteren, dat
gaat sneller. If you don't get all the old stuff off, you'll be
redoing this in a year, if not sooner.
- Find a place that you
won't care about if glue get on it. (i.e. garage floor, back patio,
neighbors car, etc) and lay the headliner backing down. Your kitchen
floor is not recommended. Exspecially if you are married.
- Apply the headliner
material to the backing.
- Place the new fabric
over the backing to line everything up properly. Be sure to leave extra
fabric for wrapping around.
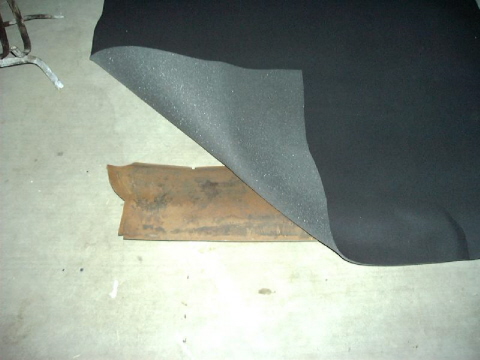
- Starting from the
center of the backing, apply the glue and glue the fabric as the
instructions tell you.

- Continue gluing
fabric as necessary until the entire backing has been covered. Be sure
to pick up every so often to make sure fabric doesn't stick to the
ground where the glue got sprayed/dropped/ran.

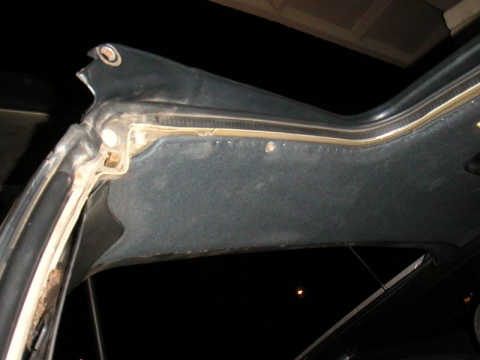
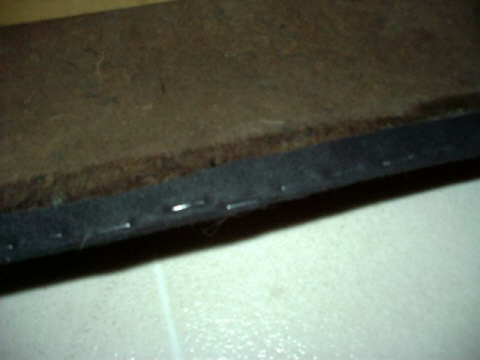
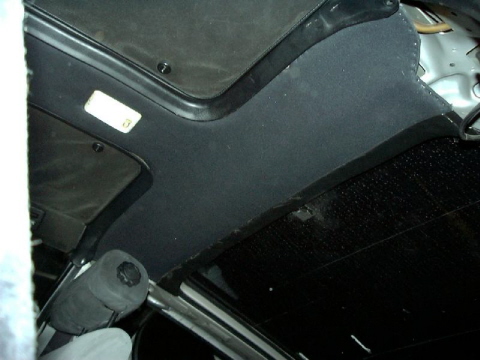
- Once the glue has
dried completely, wrap the excess around and glue it on the underside
(top side?). I recommend also stapling the edge to double hold the
headliner in place. Staple from the top side because the main pull will
be to try to rip the top back around, and the solid bar of the staple on
the top will hold better. Staple close to the edge, but not so close
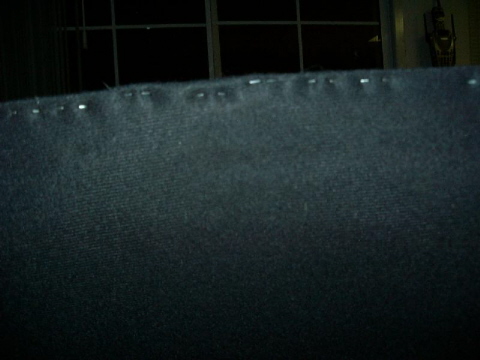
that you risk shredding the headliner backing. Ik raad nieten niet
aan, dit ga je namelijk terug zien kijk maar eens goed op de
allerlaatste foto van punt 4, bij de targa lijst.

- Re-install the headliner.
Installation is reverse of removal.
TERUG NAAR TECHNIEK