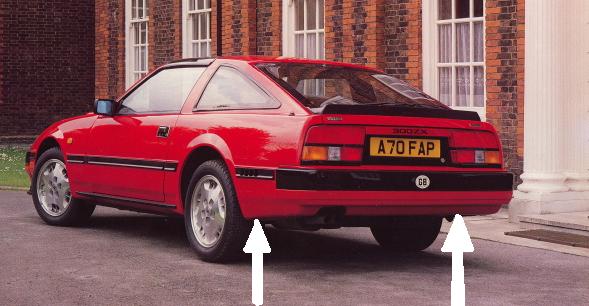
Lekkende achterlichten
Benodigdheden: diepe dop 10 en 8, ratelsetje, kit, ontvetter, pakkingschraper/plamuurmes, föhn.
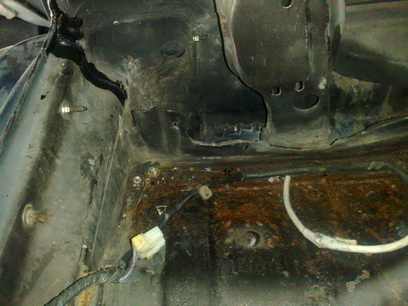
Te herkennen aan water in je kofferbak, meestal in de reservewielbak. Boor een gaatje aan beide kanten zodat water altijd weer weg kan lopen uit de achterste flanken.
Je kunt ook Butylene X gebruiken dit is een kit die wel uithard maar toch flexibel blijft, prima geschikt voor dit klusje. De kit die word omschreven in de USA tekst is niet voldoende afdichtend, uit eigen ervaring. De kit moet namelijk flink hoog aangebracht worden en deze laag op een rol is dus niet hoog genoeg en niet lekker zacht om de kit te kunnen verdelen bij het aandraaien van de moeren van de achterlichtunit. Je kunt altijd een automaterialenzaak vragen om een goede kit welke hard word en toch flexibel blijft!
Demonteer de binnenbekleding tegen de achterlichten, 4x plastic draaischroef. demonteer stekkers v/d achterlichten en reflectorbalk, demonteer de middelste reflectorbalk, demonteer dan pas de achterlichten, als de achterlichten er niet makkelijk uit willen komen dan het geheel föhnen, niet te dicht erop. Niet te veel wrikken omdat je dan stukken uit de achterlichtunit kan breken vooral aan de kentekenplaat kant.
 binnenzijde
links
binnenzijde
links
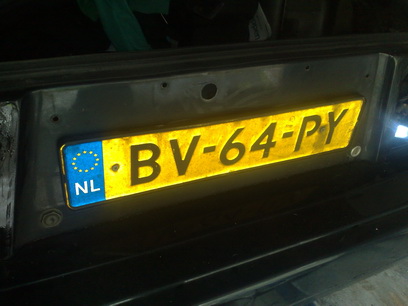
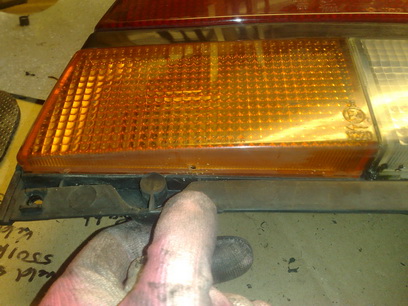
Als je de achterlichtunit met het glas, wel een zachte doek er tussen, op de werkbank legt. de 3 schroefjes verwijderd van de onderste strip, dan kun je een gaatje boren in het knipperlichtglas. Nu loopt voortaan ook het water uit de achterlichtunit!
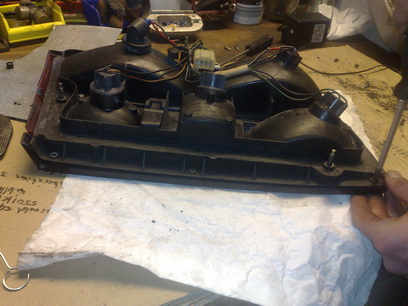
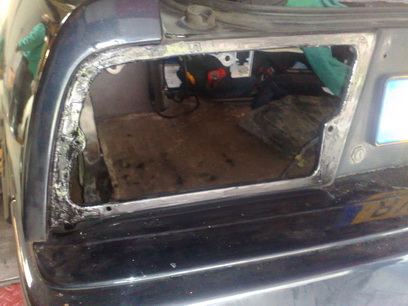
Achterlichtunits en carrosserie goed ontdoen van de oude kitlaag, daarna ontvetten, nieuwe kit plaatsen op de achterlichtunit en deze weer monteren.
Water in your spare tire well? Corroded tail lamp sockets? Like the sealer at the top of the quarter panel windows sags, so does the sealer at the top of the tail light assemblies. You need to remove your tail light assemblies and reseal them with Glass Setting Butyl Tape. (Better is a sealent what stays flexible like butylene). The same stuff you use for resealing the side windows. As a mater of fact, if you resealed the side windows you should have just enough left to do both tail lights. This is a pretty easy fix. Don't waste a minute either. Worse things are happening to the steel floor of your cargo area.
Remove the spare tire cover and the back panel covering the tail lights. You may also have to remove the “300ZX” or “TURBO” reflector in the back as this partially overlaps the tail lights. This is held on by 4 nuts and comes off easily. Remove all of the sockets from the assembly. Also remove the tail light sensor (little white rectangular box, right side on GLL models only I think) and the harness connector in the middle. Remove the 5 nuts securing the assembly to the frame. Push the assembly out slowly. Once you have it out, scrape off as much of the old sealer as you can from the assembly and the frame. Don't waste your time trying to get it all off. Leave a thin film.
Apply the Butyl rubber tape to the assembly staying close to the inside and staying away from the edge. Start at the bottom middle and join the two ends together to form a continuous seal. Reinsert the assembly into the frame and tighten the nuts. Reinsert and the sockets, sensor and harness connector and your done.