
This is another problem that, when identified, MUST be taken care of to prevent or arrest rust damage to the quarter panel, cargo floor and spare tire wheel well. The window must be removed and resealed. The good news is it's really pretty easy to do. But do it on a hot day! The butyl rubber seal is hard to work with when cold. The window will seat quickly when the glass, frame, sealer and car body are warm or hot.
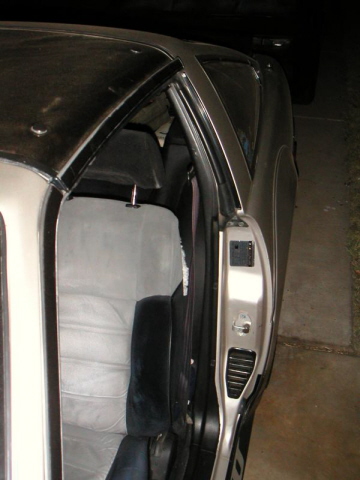
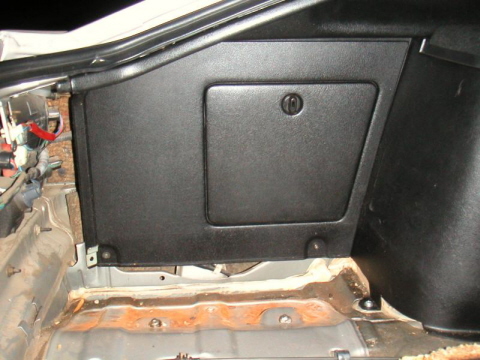
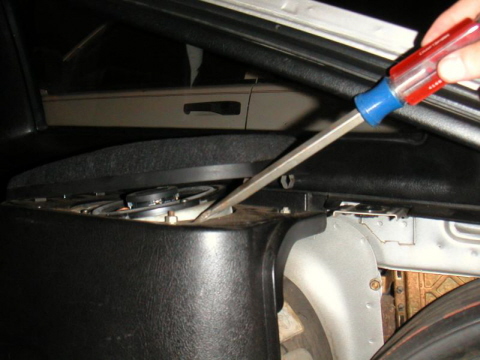
Removal Preparation. First things first. Go and purchase a roll of "Glass Setting Butyl Tape" made by PRO Adhesives and Sealants or an equivalent. It is actually a "rope" rather than a tape which is 3/8ths diameter and 15 feet long and is plenty to do both windows. Remove the rear plastic interior panel over the tail lights. Also take off the vertical trim along the door if necessary. To remove the right side panel I did not have to remove this trim as the door trim and window trim only overlap by an inch or so. It was easy to slip it past. I was not so lucky on the left side. For some reason the left side was a much tighter fit. I had to remove the door and T top trim. Two screws hold the side panel. Remove the garment hook and screw. The other screw is at the far end of the window trim near the tail lights. Pull the side panel out starting at the top and lay it on the cargo deck. You won't be able to take it out if the car as the shoulder belt passes through it.
REMOVAL:

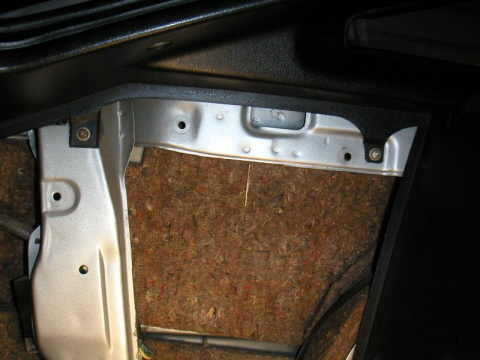
Window removal. Loosen the 2 nuts holding the window in place. One forward and one back. When you finally remove the nuts hold the window with one hand or have someone hold the window. It's not likely to fall out but don't take chances. SLOWLY push out the forward edge of the window, near the door, out from the frame. Als dit niet gaat verwarm dan met een föhn aan de buitenkant het raam rondom. The back corner of the outside window trim is held with a body fastener. Once the front edge is out slide the window back a 1/2 inch to unhook the fastener. If you break it don't panic. Most auto parts stores have a variety of replacements. The window is sealed with a black gummy Butyl rubber strip. It is the most unpleasant aspect of this. You don't have to remove all of it to reseal the window. You will have to remove all traces of it if you use silicone to seal the window or the silicone won't adhere to the window and frame with any confidence.
IMPORTANT NOTE: If you plan a total restoration, as I am, and expect to remove the window at a later date, don't seal it with silicone! (never seal anything with silicone!!!) You will have a terrible time getting the window out again as with silicone you are essentially "cementing" the window in place. You may not get it out without breaking it at a later date. Use Butyl tape if you plan on removing the window again.

Installation Preparation. Use a dull scraper or putty knife and remove as much of the old Butyl sealer as you can. You can leave a thin film on both surfaces. Clean around the frame and window with window cleaner to remove road dirt. Apply the Butyl tape to the window frame, not to the window. Press it on but don't crush it, leave it round in shape. Also don't stretch it as it is applied. DO stretch a small piece of the Butyl rubber like taffy into a thin strip and wrap it around the window mounting studs and the body fastener to seal the 3 holes in the frame. I also put some under the mounting nut washers for an added seal on the inside.

Window Installation. When you are ready to put the window in, slip the body fastener into the slot in the trailing end of the exterior trim. Line up the fastener and 2 mounting studs and press the window onto the frame GENTLY and start the mounting nuts but DON'T tighten them yet! If the car is a repaint like mine, line up the edge of the window with the edge of the new paint so it doesn't show. Tighten the mounting nuts SLOWLY and don't force them. The Butyl rubber seal has to have time to compress and displace between the window glass and the frame. Let the Butyl seal set the pace by which you work. Give each nut a turn and let it sit for a few minutes before turning it again. Letting it sit in the hot sun also helped as the hotter the butyl seal is the more compliant it is. Once the nuts are tightened all the way the trim around the window may stick up away from the body. This is ok. As the window continues to seat the gap will close. pushing on the window evenly for periods of several minutes helps.
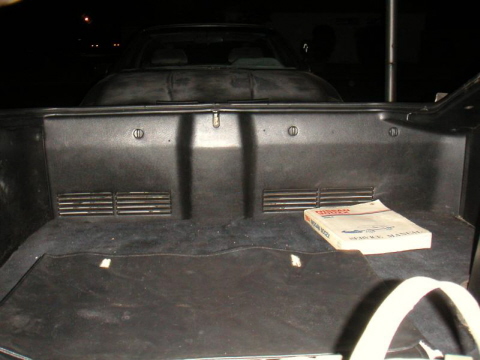
Interior Reassembly. I put the inside window trim back in the way it came out and didn't have to remove the door trim. I think this is partly due to the heat this day and the resulting pliability of the plastic. Inset the bottom of the window trim first and then push in the top. Make sure the 2 metal clips catch the upper rail and the bottom snap drops into the hole in the bracket. Reinstall the garment hook and the rear screw. Replace the back panel and spare tire cover.
I recommend resealing one side completely before starting the other side. This way if anything doesn't look like it fits right you have the other side to reference. I cleaned the window and the panels before assembly and it looks great. Also, if you get some Butyl “strings or smudges” on the paint or the carpeting it easily comes off with mineral spirits, denatured alcohol or paint thinner. Before using any solvent on the paint or carpet, test it on an unexposed area to be sure it won't melt.